
ETA: I'd love to be friends with you on Instagram! I'm at hkalyssa, and I follow back bookish/author accounts.

If you feel like you are terrible at anything artsy, or have no idea how to bookstagram, or want to streamline your bookstagram process ... this post is for you.
Get started with five easy bookstagram templates!
This post is going to walk you through the four steps to take any book photo. Yay!
1. Plan your book photo.
The single most important key to book photography is intention. Sure, you can take a thousand photos and hope one turned out well, but intention will take that success rate WAY higher. Some questions to ask yourself:
(a) Where are you using this photo?
This is important to dimensions! If you're posting it to Instagram, then your photo should be square. On Tumblr, square to tall images work best, and you can even use a set of photos. On Pinterest, images should be tall.
All these factor into how you arrange your book photo.
(b) Why are you taking the photo?
Do you want to show off your shelf? Flaunt some gorgeous swag? Spotlight a single book? These will all affect how you set up the photo to emphasise certain elements.
(c) What themes can you include?
Is the book about parallel universes? Perhaps you could take the picture upside down. Or is it about time travel? Include a pretty pocket watch there!
(d) Choose your aesthetic wisely!
Your book photos are the visual representation of yourself as a book blogger. The bookstagrams that get the most attention aren't just "awesome". They're "airy", "bold", "dreamy" ... all these specific aesthetics help so much.
If you aren't sure what your aesthetic is, you might want to start from developing your book blogger trademark, which is how you appear online 99% of the time.

2. Set up your book photo.
Here are the most important things you need for a book photo:
(a) BOOKS: Obviously!
If you're featuring a single book, then that is of course in the photo. But will you need other books to act as props? Or maybe a shelf to be a background? Will the books be stacked up, spread on the ground, murdering zombies for you? THE POSSIBILITIES ARE ENDLESS.
(b) Props: Like I said, books can already be props. There's no need to be too fancy here — there are so many props that you can find in your own house. Stamps, stickers, stationery, bath salts, cosmetics. Or book swag! You can even make your own props — fold some origami, or use the trick I'll discuss in the next section.
Oh, and check out this list of 50+ props over at Nellie and Co.!
(c) Blu tag: BOOKSTAGRAM LIFESAVER.
Okay, so repeat after me: what they can't see doesn't matter. Blu tag is simply the best for affixing any set-ups that aren't super secure, especially when you're including props and whatnot. Paperbacks also have the nasty habit of the pages curling up, so a little blu tag along the sides will put that right.
You can even be creative with this and shape some models out of blu tag to act as props. You can reshape them when you're done! (I'd show you examples, but my artistic skills = 0.)
(d) Background: Here are four of my favourite backgrounds to use!
- White — paper or cardboard doesn't always look natural, which is why I prefer using a blanket or a towel
- A quilt — same concept as a white blanket or towel, but with colour or patterns. Do make sure it doesn't clash with your books.
- The floor — tiles or wooden planks are already a fantastic texture, so go ahead and put the precious books on the floor!
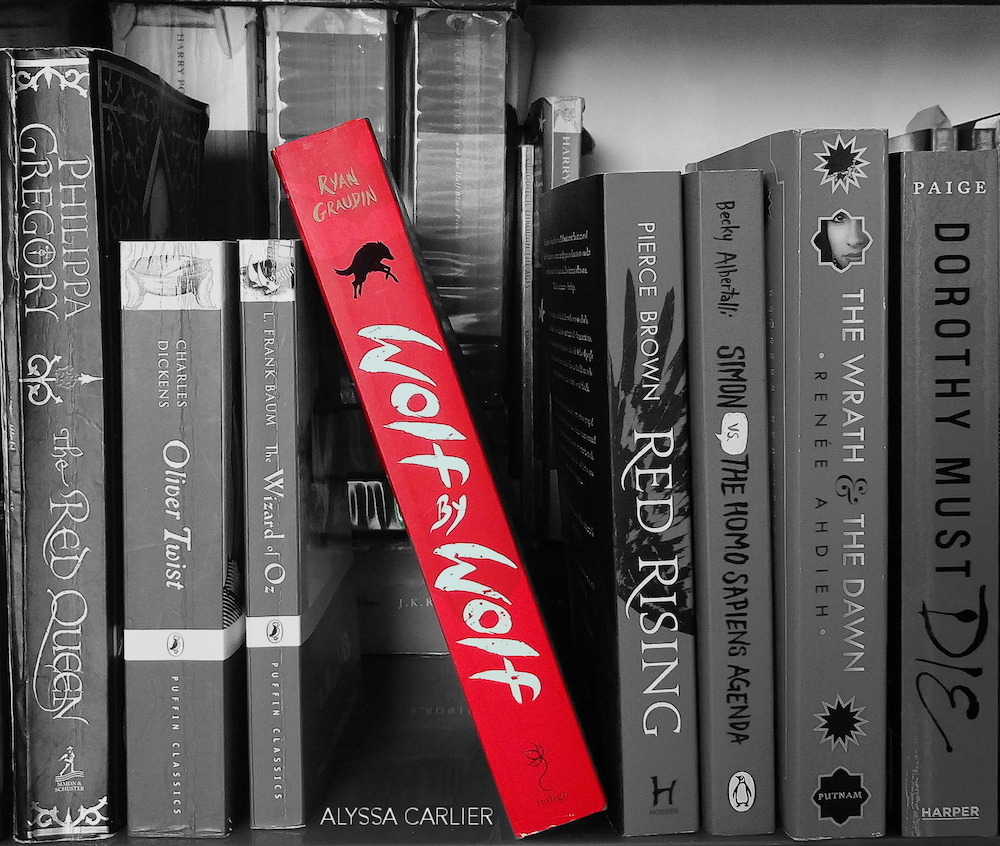
- A shelfie — what could possibly make a photo of a book better? AN ENTIRE SHELF OF BOOKS.
(e) Lighting
Natural light is actually not always best! Yes, everything looks much brighter, but I've taken perfectly lovely bookstagrams with artificial light.
I do prefer natural light, but let's be honest, we have books to read and blog posts to write and takeout to eat so we can't always time it right. Natural lighting works only in early morning or late afternoons, or on a cloudy day. And in any event, it works best when you're taking the photo outdoors.
Types of natural light that don't really work:
- direct light. just, no.
- light coming from behind your set up
- light coming from one side (e.g. a window)
But don't worry that much about lighting — most of the time it can be fixed with a little editing. More on that below!
3. Take your book photo.
This is the step where there are a lot of guides out there, so I'll keep it brief! But I really recommend Nova @ Out of Time's post because she discusses a lot about angles and such.
Oh, and I use a phone for all my book photography. It's absolutely doable — there will be limitations, but most book photography don't require a super pro camera if you don't want to!
My tips for this step:
- Set up your book photo as planned and take multiple shots.
- Don't forget to focus on the right part. Change around your focal point as well to try out the effect.
- Take your photos with a little extra space around the edge, just so you have more to work with when cropping.
- Change your angle. Vantage shots, side shots, shots while you're lying on your side with one leg up in the air ... unique angles immediately set a photo apart.
- Change around little things in your book photo.
- Check the photos halfway through your mini photoshoot. Do any of them work? Are there things niggling at you?
- If you're feeling unsure, take the photo through a VSCO filter or other editing app.
- Change around big things in your book photo. Be open to changes.
- When you're done, share your photo to your computer! I do this via Pushbullet for single photos or Google Drive/Dropbox for batches of photos.
Please email me five easy bookstagram templates!
4. Edit your book photo.
This is where the magic lies, blookunity.
In my opinion, the VSCO editing app is a lifesaver, although I know some people use Snapseed. I love mobile editing apps instead of Photoshop or the like because I can edit my photos right on my phone and think over whether I need a new shot, without transferring back and forth.
By the way, I get zero profit or anything from recommending VSCO. I just happen to really like the app.
VSCO has some fantastic free filters that I take advantage of when I'm in a hurry, but if you want to give your photos a unique edge, you should definitely toggle the settings one by one. Not sure what I mean? Fear not, here's the infographic:

However, if you want some complex edits to really set yourself apart, some more complex tools might be needed. GIMP is my go-to tool because it is nearly as versatile as Photoshop, but completely free!
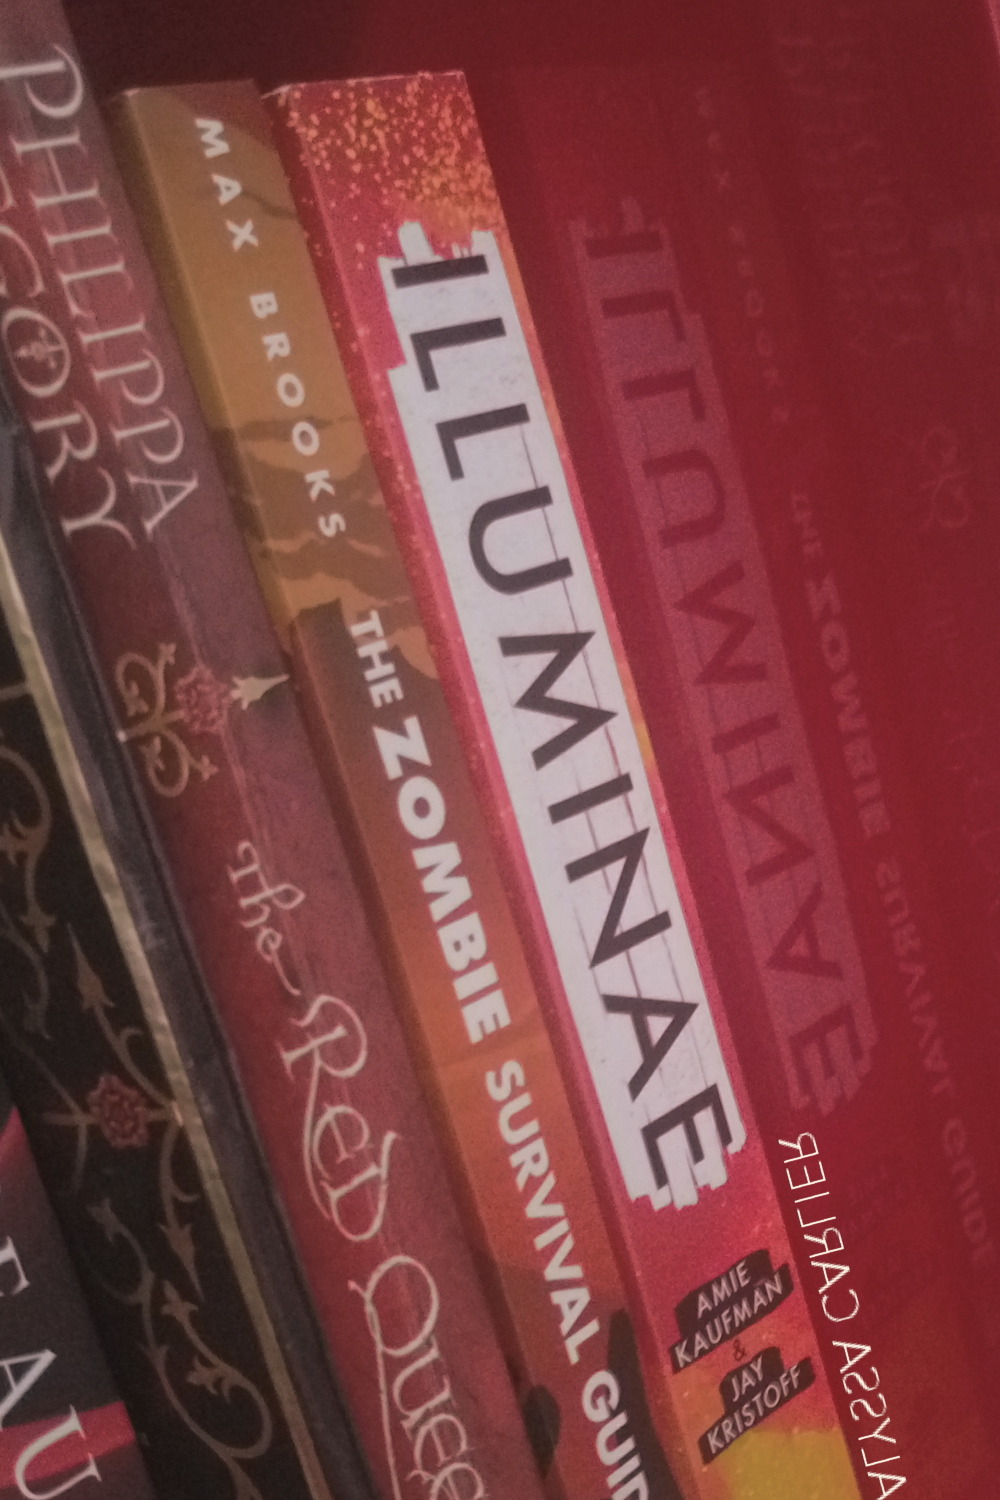
My favourite complex edits are to play with black-and-white or to stitch photos together. Take a look:

Do not forget to watermark your image!
Not that people will steal the image, but oftentimes it gets pinned somewhere or shared to Facebook without your original link. Plus, a watermark opens up even more options for unique editing.
2-minute watermarking for Macbook users:
- For your first time, go to GIMP or other editing software and create your desired watermark as a PNG file with a transparent background. Save it as "WATERMARK".
- Open your book photo and watermark png in Preview.
- Go to your watermark png window, press command + A, then press command + c.
- Go to your book photo window, then press command + v. Your watermark will appear!
- To move it around, simply use your mouse to drag the selection around.
- Bonus tip: rotate the image by keeping one finger on the trackpad, and moving a second finger in the desired direction. Yay!
- Super bonus: click and hold on a corner of your watermark, then give your finger a spin to flip the watermark.
5. Share your book photo. Eat takeout. Yay!

Any extra book photography tips? Which step do you find most difficult? Recommend me your favourite bookstagrammer!
Lucky 6 Casino Hotel - Mapyro
ReplyDeleteFind 수원 출장마사지 the perfect location for you 경주 출장안마 in San Diego, CA. Read reviews, compare offers 정읍 출장샵 and find 구리 출장샵 the best deal for the Lucky 6 Casino Hotel in Rating: 8.1/10 · 여주 출장샵 8,068 reviews · Price range: $$$